
In the last post I covered the kitchen portion of our home remodel. It is now time for the rest of the main floor makeover.
You'll have to pardon my over-exuberance in sharing a plethora of pictures. This has been our life all summer, it's hard to not be excited with the end in sight. For most of the summer this is what my whole house (and front porch) looked like:

Actually, this looks pretty good compared to a few weeks here and there (like during the drywall installation). The front porch is still in construction zone, storing saws and tools and extra boards, while we work on trim, but it is SO nice to have the rest of the house back again.
All of our "after" pictures so far are still missing trim, but that's a mere trifle. We are working on it.
Improvements to all the rooms include: Insulation & drywall, new windows, new hardware and fixtures, lots of paint.
Our remodel was in our plans for a long time, but we got some extra motivation to get it done after spending a small fortune on propane last winter. We decided the thin plywood walls --with no insulation between them and the rock exterior-- needed to be replaced. When you can feel the wind blowing in through outlets and cracks in the plywood walls it feels a little futile to be spending so much in heating it all.
And while we were ripping out all the walls we decided to make a few other changes as well.
We'll start with the smaller rooms - the kid bedrooms.
When we moved in (almost 4 years ago) William's bedroom looked like this:


The girls' room when we moved in was originally our master bedroom (pre-attic addition), and it looked like this:
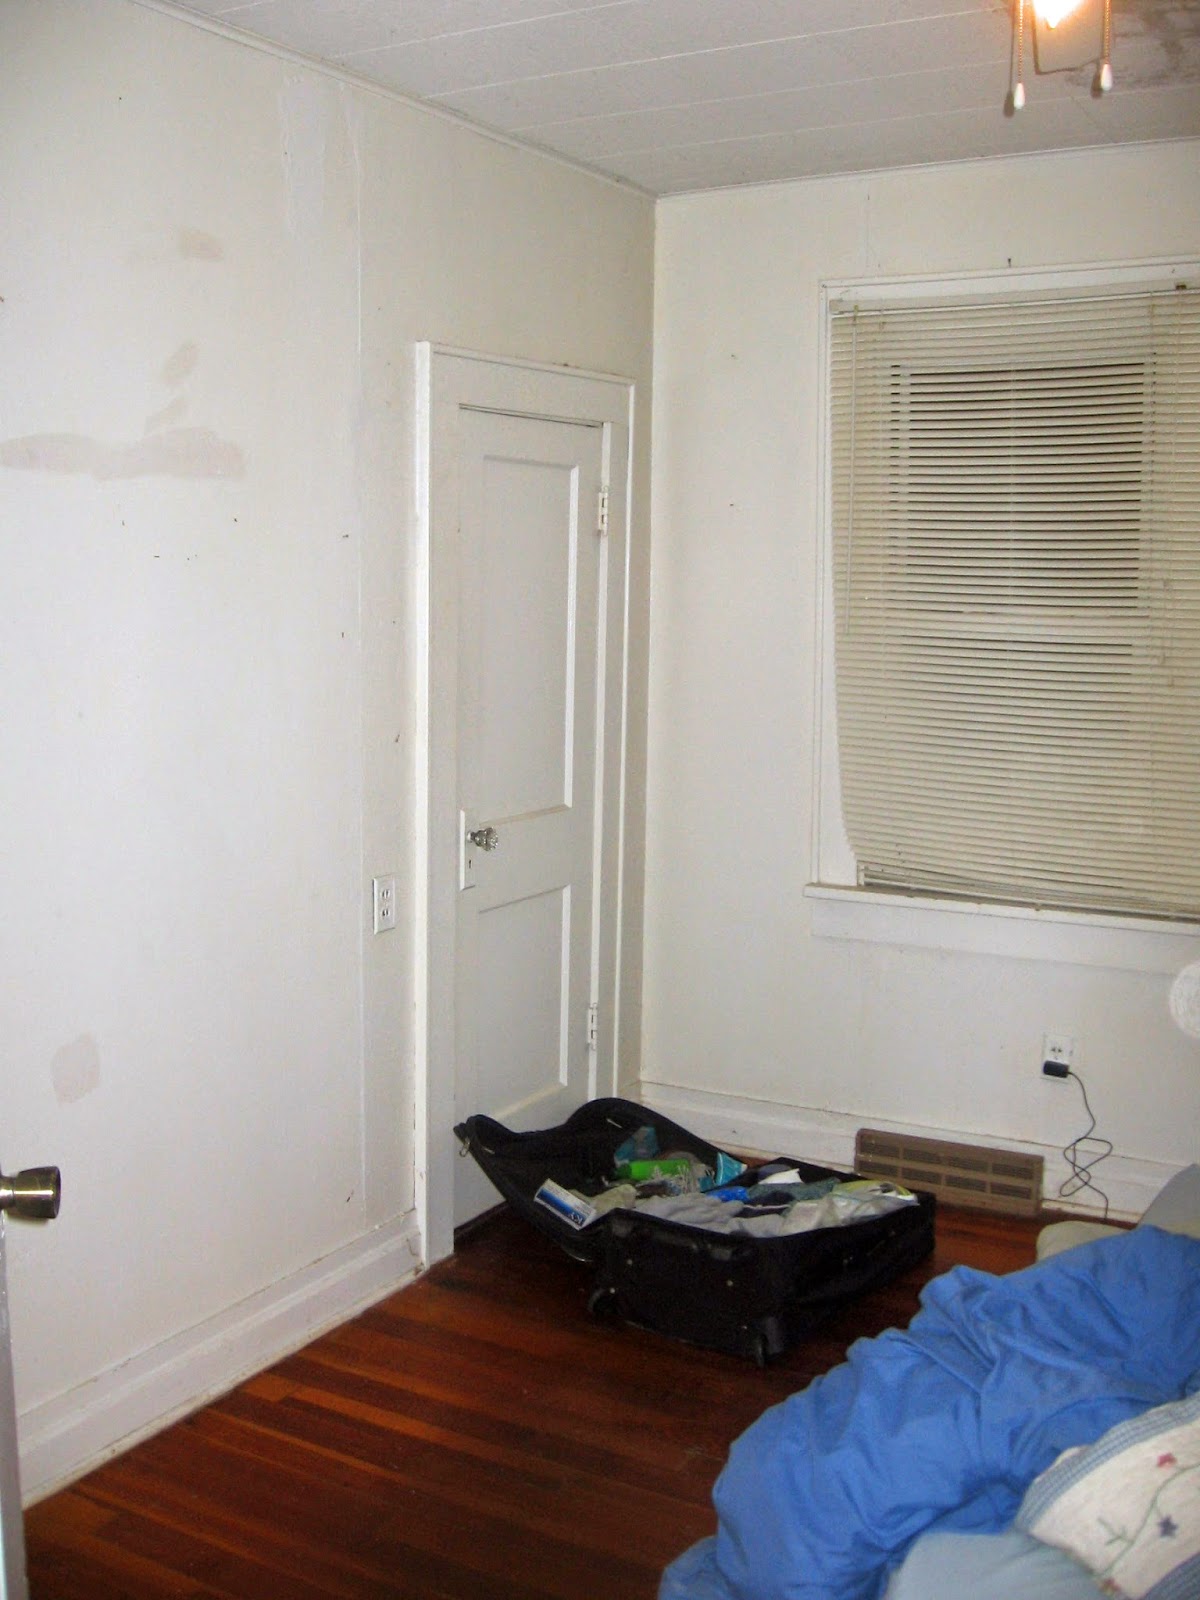

What you can't see in these pictures are the messages written on the walls in glow-in-the-dark neon paint, or the ragged glue marks left on the ceiling from a large mirror that renters had installed.
We immediately cleaned up and painted over the messages, but had to live with the glue marked ceiling for a few more years. Still, it made a cozy master bedroom until we were able to move up to more spacious accommodations upstairs. When that happened the girls moved in here and now they get to enjoy the beams of light that shine up through the sub flooring when someone leaves the light on in the basement. It's like little constellations on the floor.

The floor may still need some work, but we finally ripped out the glue ceiling. For a while the kids slept without any interior walls or doors and bare stud walls:

The oak boards had their appeal, but I learned to appreciate having walls and doorways for bedrooms.
We chose lavender for the new wall color and plan to add some fun cheery green covers for the beds:


And now, onto the living area...
Originally there was a third bedroom on the main floor. We used it as an office/ guest bedroom when we first moved in:


There was a doorway into the (then) master bedroom (to the left in the above picture), and a doorway into the (then) hallway (to the right).
 |
| Our little hallway, pre-wood flooring (or anything else) |
When all the doors were opened this provided a circular runway around the house that the kids utilized for exercising in the winter.
This middle bedroom changed slightly when we added an upstairs and it became a stairway room. I also ripped out the wood wall paneling and discovered another doorway hidden away underneath, opening up this room to the dining room:

Now this room is just an extension of the main living area, with no walls separating it off. No more hallway, no more doorways.
 |
| We use the cubby hole under the stairs as a cozy reading nook for the kids |
 |
| View from kitchen into stairway room (previously the middle bedroom). Will's room is off to the left, girls' room off to the right behind the chimney. |
As you can see in the above picture, we made a rather drastic change by ripping out all the interior walls in order to expose the chimney and gain an open floor plan for the whole living area.
This involved us hiring somebody who actually knew what they were doing (thank you, Mr. Reschly & Mr. Beiler!) to remove the wall and install support columns.


After ripping out all these walls and having support columns installed it was time for some electrical work, and then insulation:

We chose to go with spray foam insulation since it is known for high efficiency. What we didn't know was how much fun it would be to get it installed. Word to the wise: when you are expecting a baby and have four other little children currently living in the house that is schedule to get spray-foamed, research any safety precautions that may be necessary.
Also, tape plastic sheets securely to all of your floors, and anything else you don't want completely coated in tiny little spray foam droplets. It's amazingly invasive. After a lot of scrubbing and scraping I think we have *most* of it off. Turns out it's a lot easier to install spray foam in new construction zones that don't already have wood floors and people living there.
So, after waiting a few weeks for the spray foam equipment to be in working order, they finally arrived (yay!) only to mention: "uhh.... by the way, you guys may want to be gone for a couple hours...". Fortunately I was planning on meeting family at the zoo so we rushed on out the door.
And then Clay started researching. Turns out it is a good idea to be gone for several days in order to avoid the lovely fumes that fill the house.
Time to cancel the zoo plans last minute and ask if instead, I might be able to drive up and crash at my parents' house?? Family is a wonderful thing.
So is Walmart when we leave the house without any extra clothes or pajamas or overnight necessities or enough diapers....
That was a fun adventure! Then it was on to drywall:

This is how our house looked while in the midst of construction:

Just keeping it real. I'm sure the drywallers were super impressed with my housekeeping skills. But really, what do you do with a whole houseful of stuff (including appliances, fixtures and furniture) while you are still trying to live a "normal" life upstairs and every other square inch is either in construction zone or packed to the gills with boxes of kitchen dishes and a hundred other things? I'm sure there's a better way to do it, but hey -- we survived.
During this time we lived primarily off of frozen, pre-packaged food. I felt like we were back in college again. Susannah thought it was the greatest thing in the world to eat dinner sitting in a circle on the floor.
Have I mentioned I love having my house back in order?
Now for some more before & after shots. Here is the dining room when we moved in:
  |
| 1. View from the living room toward the kitchen. 2. Looking toward the stairway room. |
In the photo on the left (above) you can see the wall where we now have a large picture window. As you can see below, there used to be a window there a long time ago, but got covered over.
In the picture below you can also see the missing section of wood floor that marks the partial wall that was there before we ripped it out. It used to be the divider between the dining room and living room.

We (meaning the person we hired) opened up the window spot again and installed a lovely new window.

The living room, when we first moved in:

This is actually after my kind in-laws ripped up the old carpet and cleaned and painted the walls for us before we arrived. It was nice to have one clean and colorful room done as we attacked the rest of the house those first few months. Of course I went through a few color choices in the living room before finally settling on the current neutral beige...I painted certain rooms in our house more times than I would like to admit...

This next picture shows the partial wall that used to be between the dining room and living room:

No longer. It is now wide open and spacious, and I love it....


We also have this:

...our latest pride and joy (until the new baby arrives, of course). We're a little behind on stocking up wood for the winter this year, but Clay has been working hard getting a nice pile going in the backyard. We have had a few test fires already, and I am looking forward to sipping hot drinks around the fire this winter. It's a beauty. I'm also excited that the top slides open to reveal a big cooking surface. Makes me feel better to have that available, just in case.
Also pretty happy with this addition:

The main (middle) part of the bookcase was already there, and was one of my favorite original features of the house. We had to pull it out to upgrade the walls behind it, but then we hired someone to put it back in place and build the matching side shelves so that it now fills the space between our two big windows. (Thank you, Mr. Hiett!)
So, there you have it. Our latest remodel in a (rather big) nutshell.
Your photos are so inspiring! There are so many features I love - the kids' reading nook & play kitchen, how bright & open it is, your colour choices (I'm planning a soft purple for Eliana's room too. I can't wait to finally be able to paint walls!!), your cozy fireplace with exposed brick, the built-in bookshelves, your honesty about living through renos, etc., etc.! I hope soon you can put up your feet, sip a cup of tea, and enjoy your beautiful (and once again orderly!) surroundings.
ReplyDelete